Sampling procedures
This page contains the instructions on how to sample for different water parameters. You may also download a printable copy at the bottom of the page.
Chlorine Test Packets

To test for chlorine in your water, please follow the instructions below.
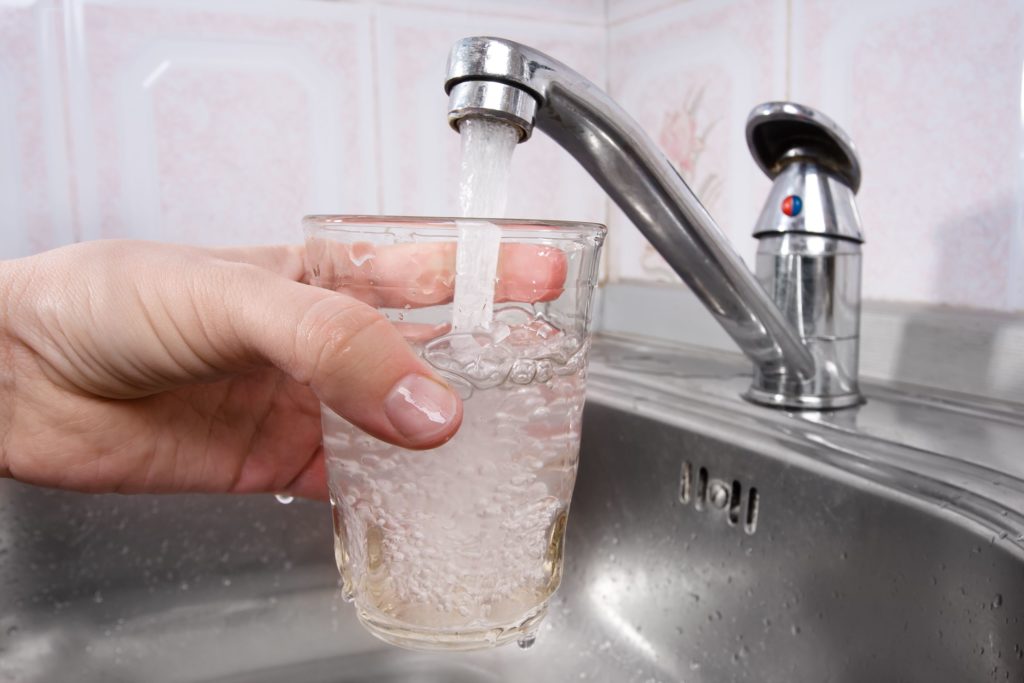
- Choose a sink in your house, one that has a separate hot and cold lever is preferred.
- Let the water run for 3 to 5 minutes.
- Fill water to the line on the glass vial.
- Pour in the chlorine test packet and shake until the contents dissolve thoroughly.
- Hold the glass vial upright against a white background. If you see ANY pink color, that indicates chlorine is still present.
- If a pink color is present you will need to continue running water for about 8 more hours or longer, then repeat instructions.
- When water is clear, call us at 410-273-7600 to schedule your bacteria test.
1st Draw Lead/Copper
To prepare a tap for lead testing, please follow the instructions below.
- Choose a sink in your home that has a separate hot and cold lever.
- This sink should be one that is far away from the holding tank, (i.e. upstairs bathroom)
- The night before the sampling, run the COLD water side for 15 minutes. After the flush, turn the water off and don't use the tap again until after the lead sample has been taken.
- The water should stand in the plumbing for a minimum of 6 hours (and a recommended maximum of 18 hours). This is referred to as a "First Draw" sample.
- Place a plastic bag over the tap. This will remind everyone not to use that tap and will show the sampler which tap was prepared.
If sampling water yourself:
- The next morning, fill a one-liter bottle, labeled lead, with the first drops of water from the faucet using the COLD water tap.
- Do not allow the tap to flow prior to collection.
- Do not rinse the bottle prior to collection.
- Do not overfill.
If you have a functioning Reverse Osmosis system:
- Leads must be taken from the tap where the system is installed.
Bacteria Sample

To take a bacteria sample, please follow the instructions below.
- Pick a good tap. Preferably an inside tap that has a separate hot and cold valve and is not an unilever faucet.
- Take the aerator (screen) off the tap.
- Run the cold water side for about 3 to 5 minutes.
- Use the small clear plastic bottle and remove the plastic wrapping. Do not rinse the bottle.
- The bottle is sterile so care must be taken to not contaminate the bottle or cap. The bottle contains a white powder, which is a preservative.
- Reduce the flow, quickly open the bottle (but do not set the cap down), hold the cap by its outside edges only, and fill the sample just above the 100 mL line.
- Cap the bottle immediately.
- The sample must be kept cold. Our lab must receive the sample within 24 hours from the time the sample was taken.
Nitrates And Other Parameters
If sampling for other parameters:
- Fill an 8 oz plastic bottle following the bacteria sample.
- You do not need to repeat the 3 to 5-minute flush.
If you are not testing for bacteria:
- Follow the same steps as the bacteria sample, using an 8 oz plastic bottle.
If you have a functioning Reverse Osmosis system:
- Nitrates must be taken from the tap where the system is installed.
VOC Sampling Procedure
To prepare a tap for lead testing, please follow the instructions below.
- The sampling point should be a tap faucet, after the treatment system if one exists. Make sure you select an area free from gasoline or diesel fuel fumes.
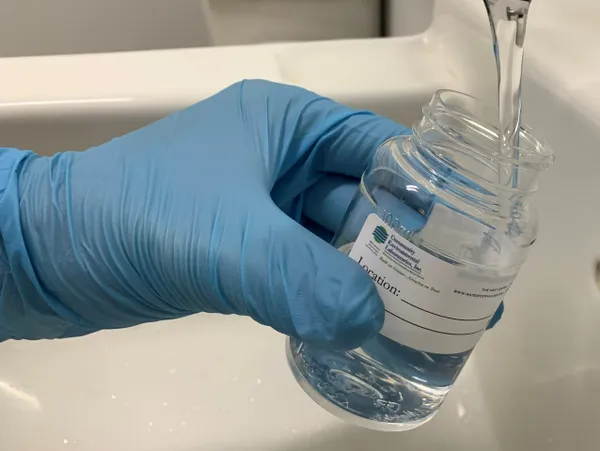
- DO NOT TOUCH the inside of the vial or cap. Make sure you are wearing clean clothes free of grease, fuel, or oil stains. Remember to wash your hands before and after you take the sample. (Wear gloves if possible)
- Remove the screen or aerators from the faucet. These devices can put air in the water that will regroup into a bubble during shipping, and make the sample unusable.
- Run the water slowly using the cold water side, fill each vial until it is slightly over-filled. The water should end up in a mound shape above the rim of the vial. Screw the cap on tightly.
- Turn the vial over and tap the cap. There should NOT be an air bubble in the sample. If there is an air bubble unscrew the cap and add more water.
- Wrap each vial in the bubble wrap so the vials do not break.
- Please fill out the enclosed work order and sign in the appropriate places. Please return the work order with the samples.